Wemaxa WordPress AI chatbot guide
Add an AI chatbot to WordPress without exposing the keys.
This implementation guide takes the installation from site readiness and backups through plugin selection, provider credentials, staging, secure server-side handling, rate limits, monitoring and production rollout. It is designed for WordPress administrators who want a working chatbot without turning a simple widget into a security or cost problem.
Prepare the site before adding another dependency
Start with a recoverable WordPress installation.
The source guide begins with the right priorities: inspect the environment, confirm HTTPS and outbound connectivity, then create backups and staging before touching production. The objective is simple: if the plugin fails, the site should still be easy to restore.
Confirm the server can support the integration
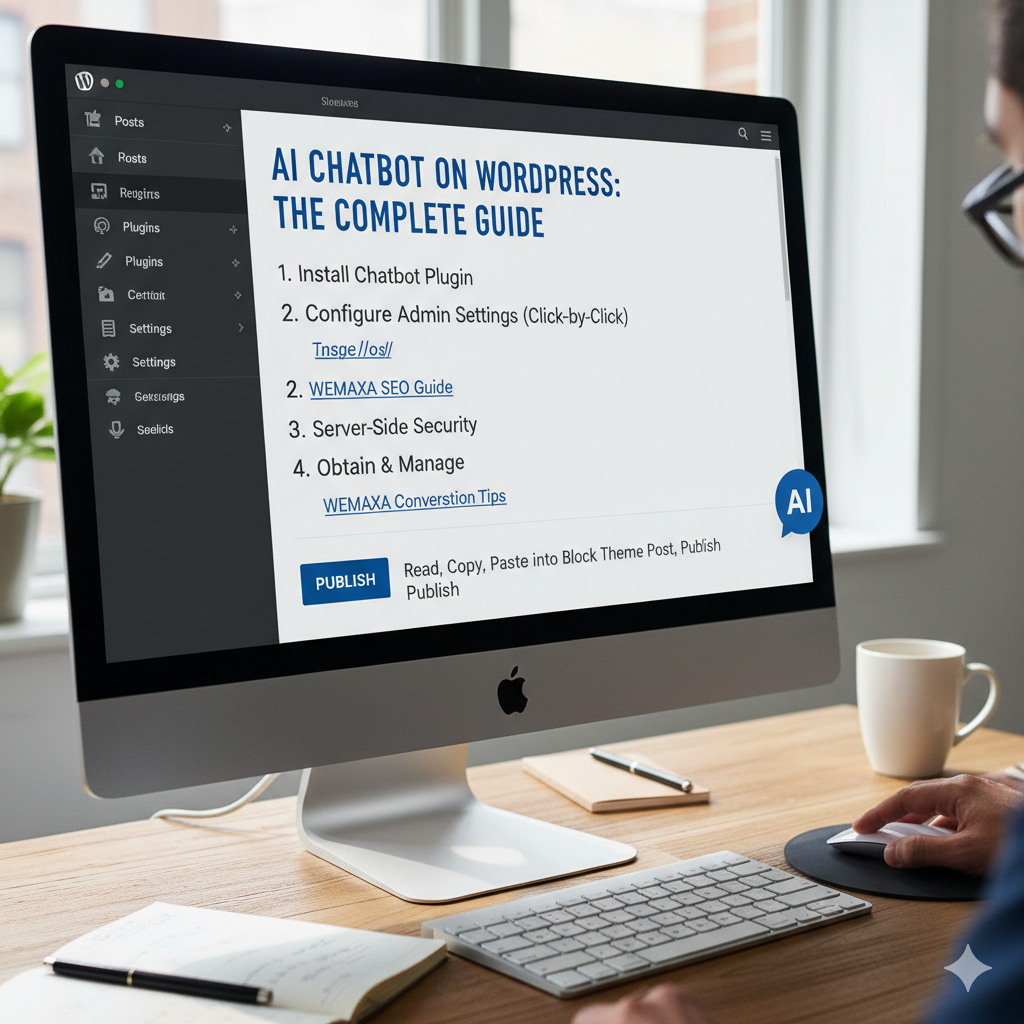
Open WordPress Site Health and record the current PHP version, web server, database, memory limits and relevant extensions. Confirm the site is served over valid HTTPS and that the host permits outbound HTTPS requests. If the plugin later fails, this baseline gives you something concrete to compare against.
- Tools → Site Health: note PHP, database, server software and any critical warnings before installing.
- HTTPS: verify the public site loads with a valid certificate and no mixed-content errors.
- Outbound connectivity: confirm the server can reach the selected AI provider over HTTPS.

Create a safe place to break things
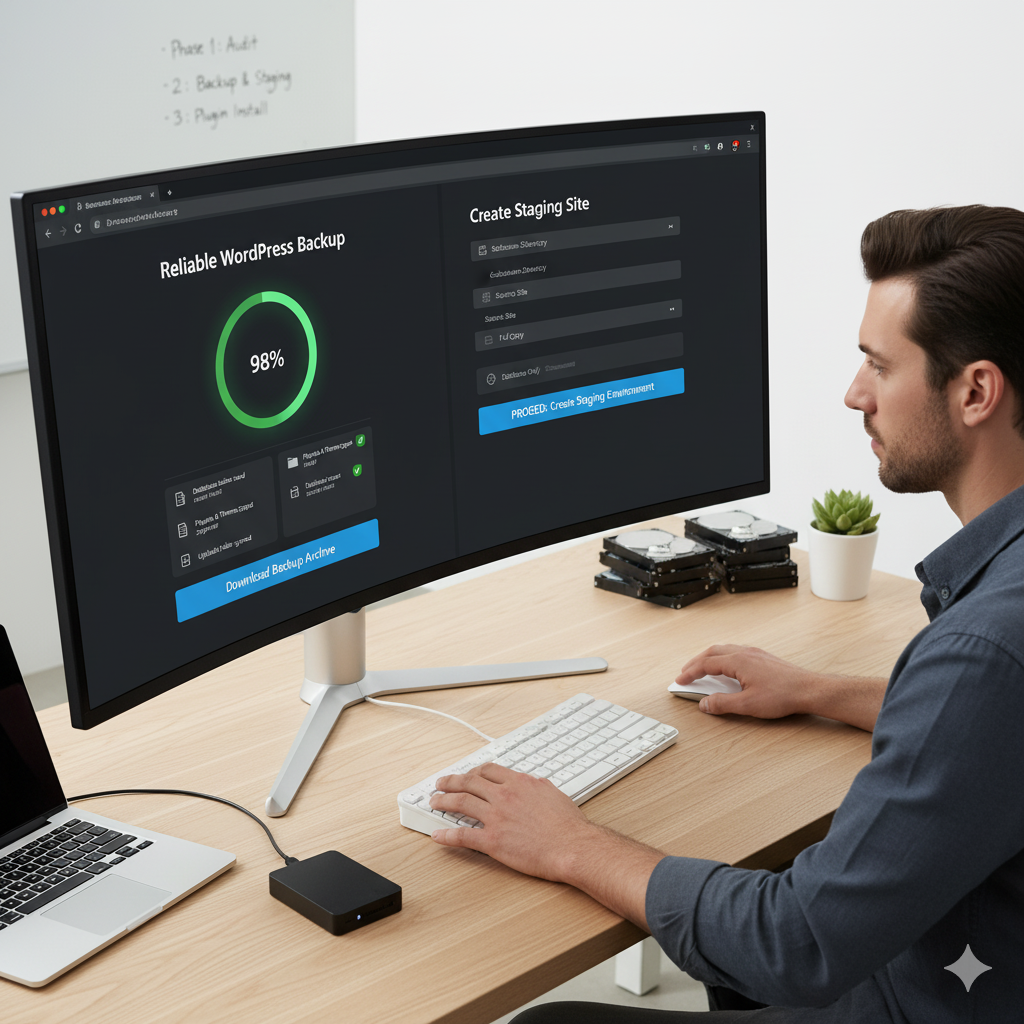
Take a full files-and-database backup before adding the chatbot plugin. If the hosting platform offers snapshots, use them. Otherwise use a trusted backup workflow and store at least one copy outside the live web root. A staging copy gives you somewhere to test styling, API behavior and plugin compatibility before public traffic sees it.
- Full backup: include the WordPress database, uploads, plugins, themes and configuration files.
- Verify restore: a backup is only useful if it can actually be restored.
- Protect staging: block indexing and restrict public access while testing the chatbot.
Pick the plugin for the job you actually have
Start by defining the intended chatbot: simple FAQ, support assistant, site-content search, WooCommerce help, document chat or another specific workflow. Then review recent plugin updates, compatibility information, support activity, provider support and how credentials are stored. Avoid choosing only by install count or feature count.
- Define requirements: list essential features before comparing plugin dashboards.
- Check maintenance: review the current WordPress.org listing, changelog and recent support threads.
- Understand secret handling: prefer server-side credentials and avoid plugins that expose provider keys to the browser.
Treat API keys like production credentials
Create the required API credential in the selected provider’s official dashboard and store it in a password manager or secrets system immediately. If the plugin supports an environment variable or another server-side secret mechanism, use it. Configure usage controls and begin testing with conservative request and response limits.
- Never hard-code keys in JavaScript: anyone who can load the page can inspect browser-delivered code.
- Use least privilege: scope credentials where provider and plugin support it and separate test from production.
- Track spend: enable usage alerts or budgets and monitor real request volume after launch.
Keep the secret on the server
Browser asks WordPress.
WordPress talks to the provider.
The safest basic architecture is a server-mediated request path. The visitor submits a message to your WordPress application or plugin endpoint. The server authenticates and limits the request, retrieves the provider credential from a protected location, calls the model API, then returns only the response the frontend needs.
Use the method that matches your hosting access
Dashboard, WP-CLI or manual SFTP.
The source covers all three common installation paths. The dashboard is simplest for one site. WP-CLI is useful when you want a repeatable command-line deployment. Manual SFTP remains an option on restricted hosts, but it should still be tested in staging before activation on production.
Plugins → Add New
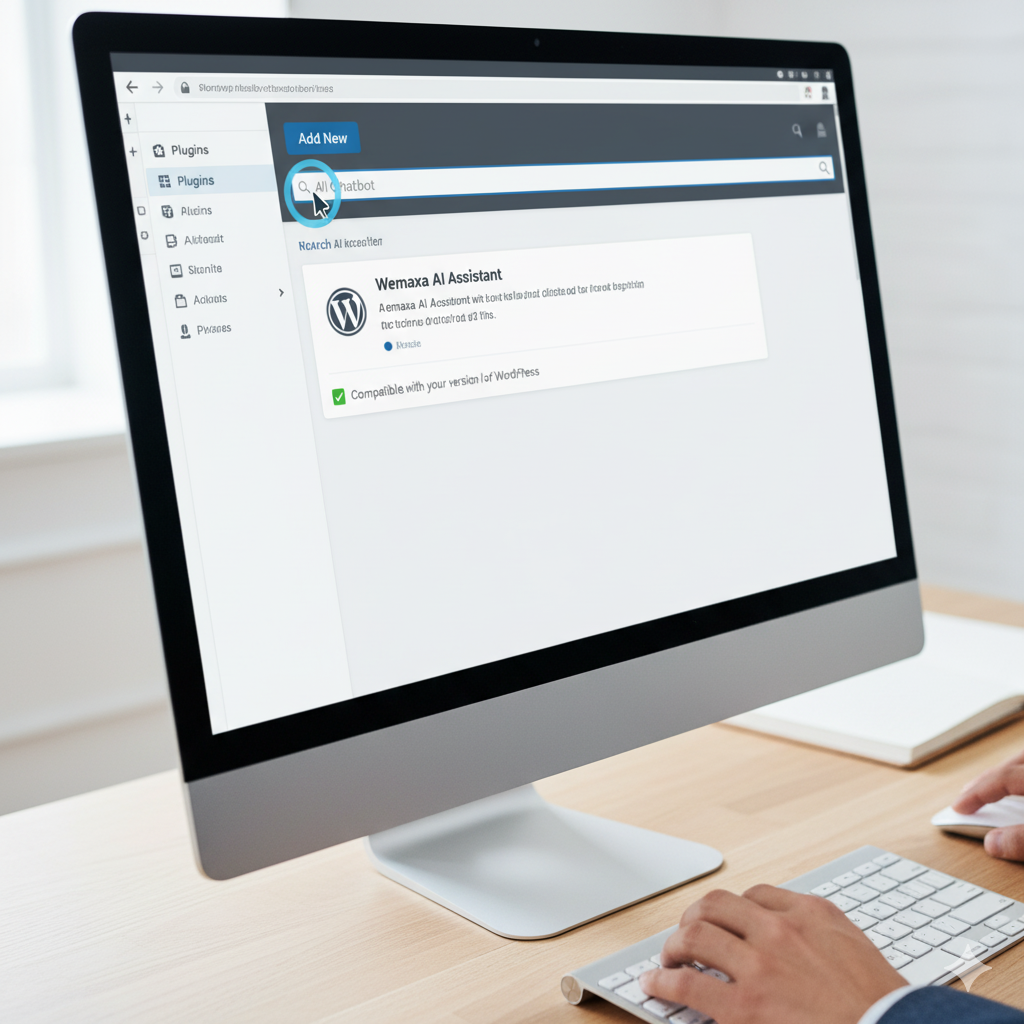
Search the exact plugin name, verify the publisher and current compatibility information, install, activate, then open the plugin settings. Put the initial chatbot block or shortcode on a protected staging page first.
Repeatable command-line install
SSH into the WordPress host, move to the correct site root and use the exact WordPress.org plugin slug. Capture the output if you need an audit trail across staging and production.
Manual plugin upload
Download the plugin ZIP from a trusted source, extract the plugin folder locally and upload it to the WordPress plugins directory. Activate it from WordPress admin only after confirming the uploaded files and staging behavior.

The chatbot is now an application endpoint
Protect availability, privacy and spend.
Once a public visitor can trigger a paid model request, the integration needs operational controls. The source repeatedly emphasizes secret handling, rate limits, caching, token controls and logs; those are the core production concerns worth keeping.
Server-side credentials
Keep provider keys out of HTML, JavaScript, public repositories and downloadable configuration exports wherever possible.
Rate limiting
Limit repeated requests per user, session, IP or authenticated account according to the risk and traffic model of the site.
Usage controls
Set sensible response lengths, context limits and provider-side usage alerts so testing or abuse does not create uncontrolled spend.
Context & caching
Trim unnecessary context and cache deterministic or repeated information when doing so is compatible with freshness and privacy requirements.
Logs & alerts
Monitor latency, provider errors, request counts and usage without storing more conversation data than the product actually needs.
Fallback behavior
Give visitors a useful response when the provider is unavailable, a limit is reached or a request cannot be answered reliably.
Debug from the outside inward
When the widget is silent, check one layer at a time.
Avoid changing five settings at once. Confirm the browser widget is loading, then WordPress/PHP health, then plugin configuration, then provider connectivity and billing. A staged checklist makes failures much easier to isolate.
Failure path / quick checks
Check current documentation before following old screenshots
Provider and plugin UIs change over time.
Use current vendor documentation when the exact dashboard label, model list, pricing or plugin setting differs from a screenshot in this guide. The installation architecture is stable; admin menus and product options are not.
Want the chatbot installed and hardened for you?
Wemaxa can review the WordPress environment, choose an integration path, connect the AI provider, place the widget, protect credentials, configure usage controls and test the complete flow on staging before production rollout.