

Step-by-Step Outline: How to Make an Android Application
This structured outline provides a clear overview of all the stages involved in building an Android application, from planning to long-term maintenance. Each step is optimized for SEO, highlighting the critical tasks developers and businesses need to consider when launching an app. External resources are included for further learning, and each stage can be expanded into detailed articles or guides.

1. Research and Planning
- Define the purpose of the app and its unique value proposition.
- Analyze competitors (e.g., Airbnb, Uber, Booking.com) to identify market gaps.
- Create a Minimum Viable Product (MVP) roadmap with prioritized features.
- Establish monetization strategies: ads, in-app purchases, subscriptions.
- Build wireframes and user journey diagrams using tools like Figma or Adobe XD.
- Consider long-term scalability and integrations with back-end systems.
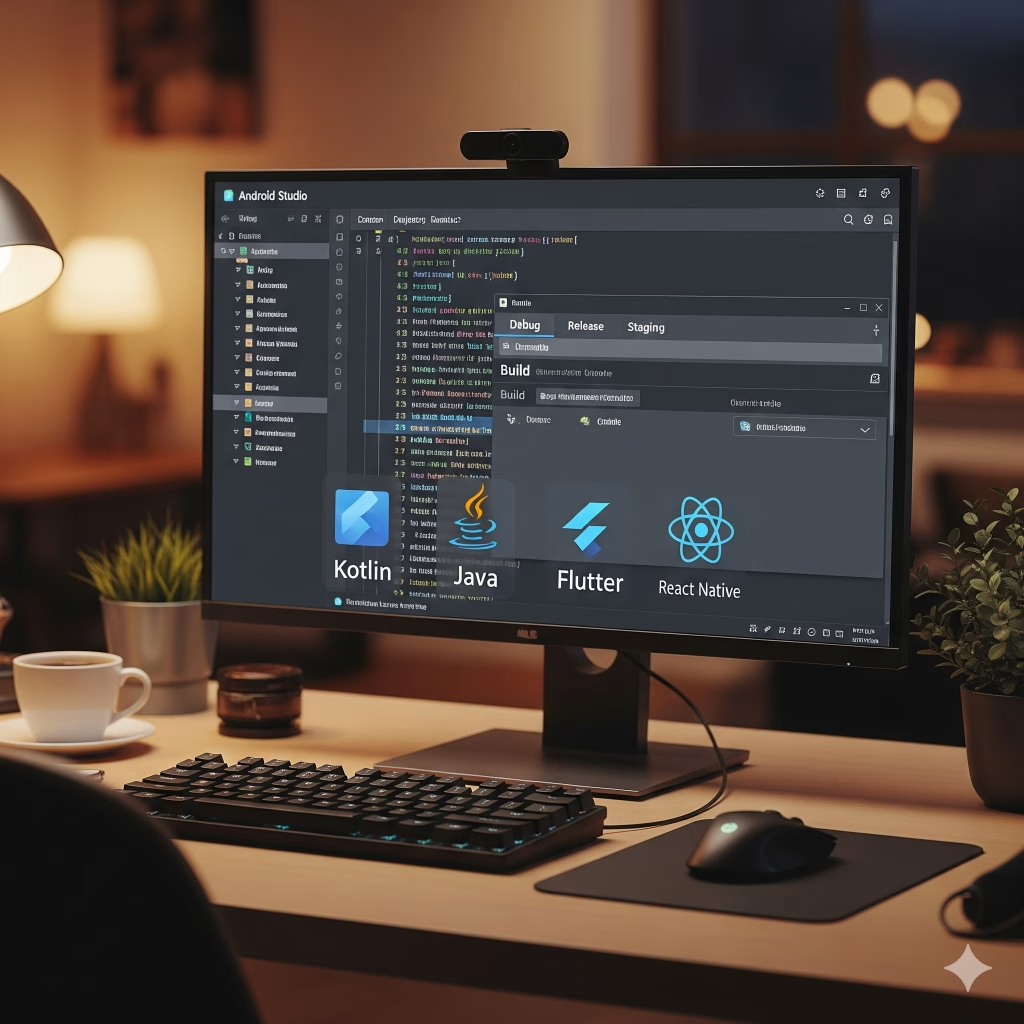
2. Choosing the Right Development Environment
- Pick the official IDE: Android Studio.
- Select programming languages:
- Kotlin (preferred for modern Android apps).
- Java (legacy support and wide documentation).
- Explore cross-platform frameworks:
- Flutter for UI consistency and fast deployment.
- React Native for JavaScript-based development.
- Use Gradle for build automation and dependency management.
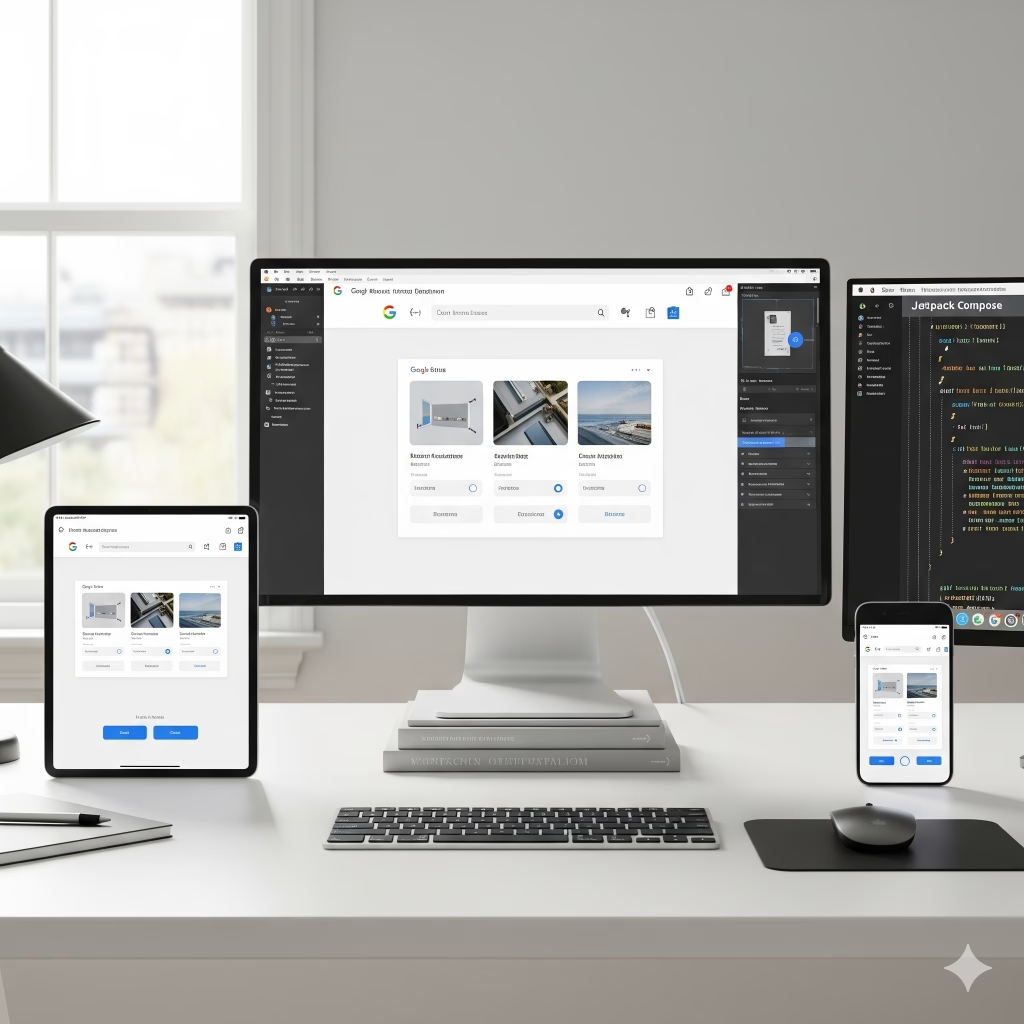
3. Designing the User Experience (UX) and Interface (UI)
- Follow Google’s Material Design Guidelines.
- Ensure responsive design across multiple screen sizes and orientations.
- Adopt accessibility best practices: voice controls, screen readers, high-contrast modes.
- Leverage modern design systems such as Jetpack Compose for declarative UI.
- Prioritize intuitive navigation, fast load times, and seamless interactions.

4. Coding and Development
- Organize the project structure into Activities, Fragments, or Composables.
- Use clean architecture patterns like MVVM (Model-View-ViewModel).
- Integrate secure APIs for data exchange.
- Implement databases:
- Firebase for real-time cloud storage.
- Room Persistence Library for local databases.
- Add features such as login, payment gateways, geolocation, and notifications.
- Secure the app with HTTPS, OAuth 2.0, and encryption practices.
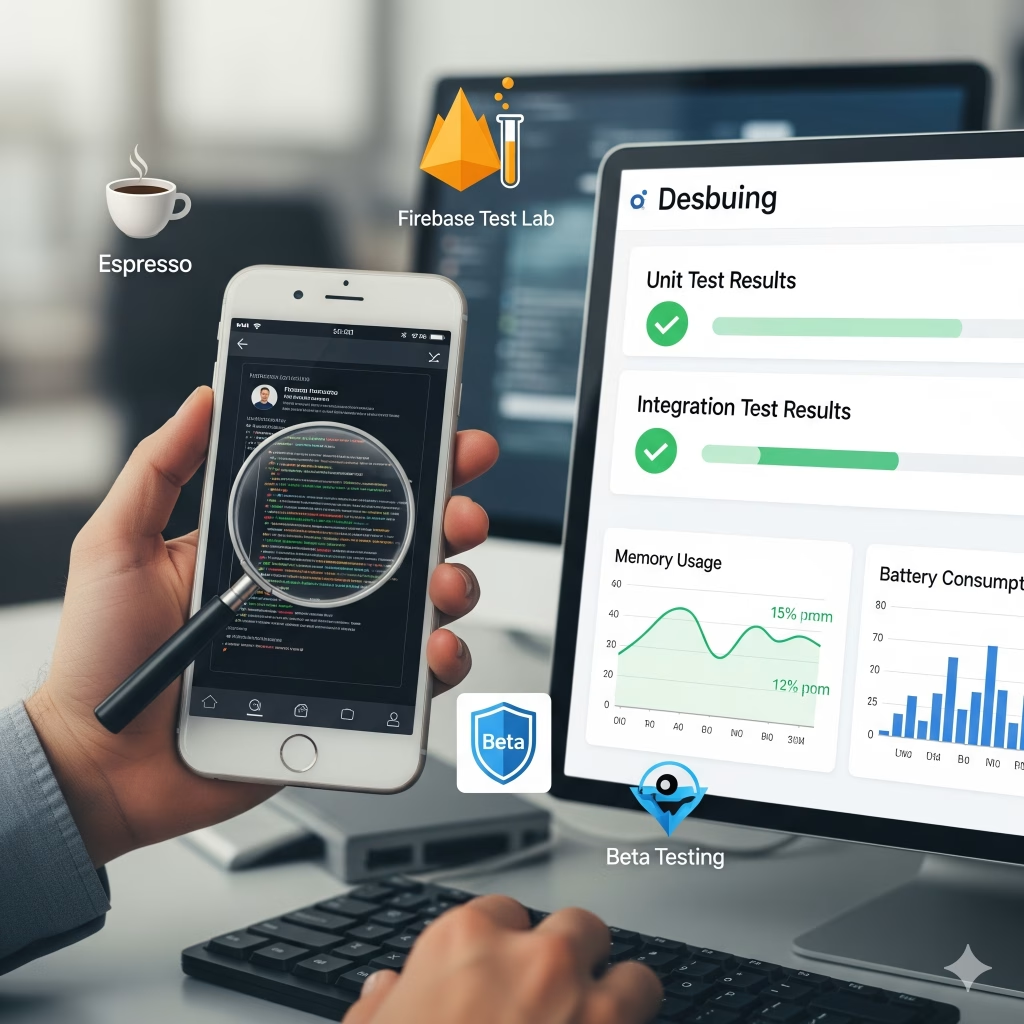
5. Testing and Debugging
- Run unit tests for individual functions and modules.
- Perform integration testing to ensure smooth module interaction.
- Conduct UI testing with tools like Espresso.
- Use Firebase Test Lab to test apps across multiple devices.
- Invite beta testers for real-world feedback and usability insights.
- Optimize performance: reduce app size, memory use, and battery consumption.
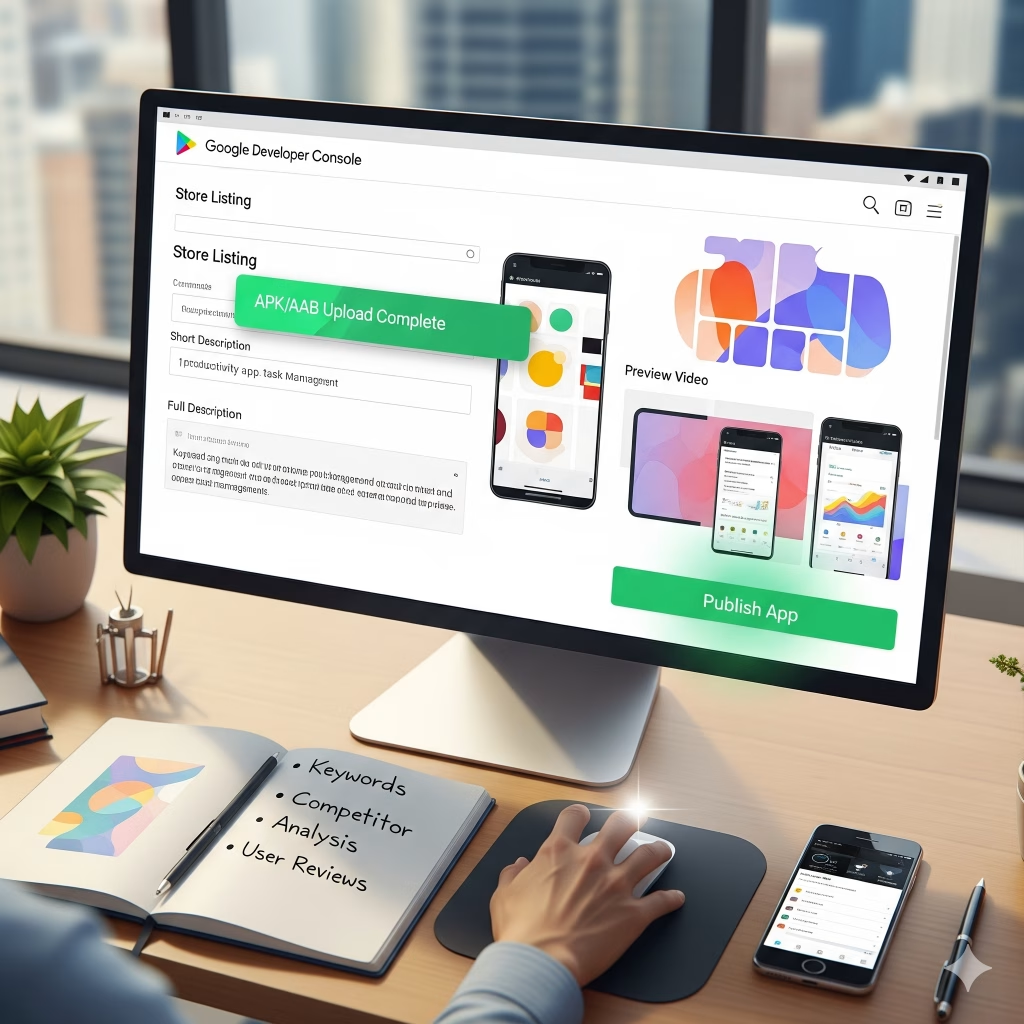
6. Publishing and Distribution
- Create a Google Play Developer Account.
- Upload APK/AAB builds and configure release settings.
- Prepare the store listing:
- Keyword-rich descriptions for SEO visibility.
- App screenshots and preview videos.
- Category and content ratings.
- Apply App Store Optimization (ASO) strategies.
- Distribute apps via Google Play or third-party enterprise stores.
7. Post-Launch Maintenance and Growth
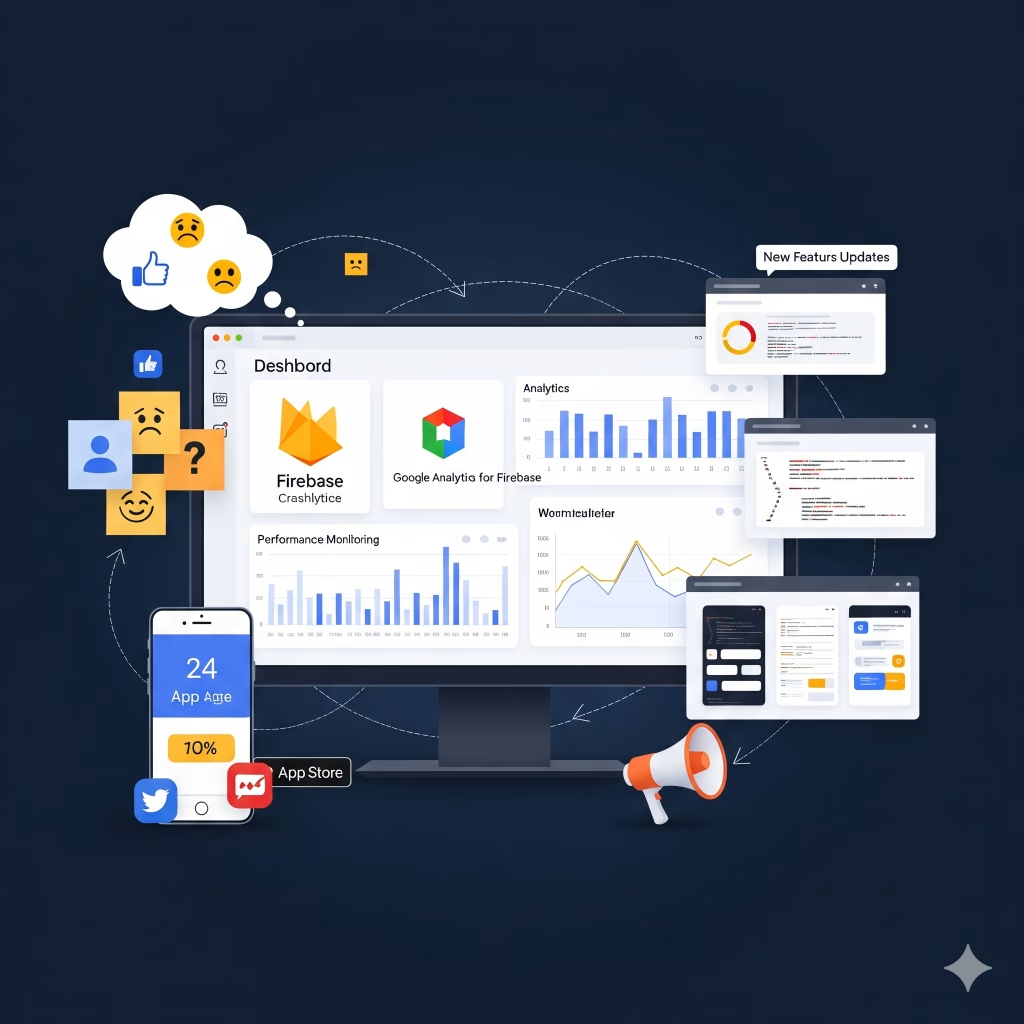
- Monitor performance and crashes with Firebase Crashlytics.
- Track analytics with Google Analytics for Firebase or Mixpanel.
- Respond to user feedback promptly and improve ratings.
- Release updates regularly to maintain compatibility with new Android OS versions.
- Introduce new features to keep users engaged.
- Invest in app marketing and promotion for sustained growth.
- Consider agency-level support for long-term management (Wemaxa IT Services).
8. Scaling and Advanced Features
- Integrate AI-powered chatbots (AI solutions by Wemaxa).
- Add advanced analytics for user behavior prediction.
- Explore IoT or wearable integrations for next-gen experiences.
- Build cloud-native apps using microservices and containerization.
- Implement multi-language and multi-currency support for global reach.
Post launch, the real work of maintaining and improving the Android application begins. Monitoring crash reports, analyzing user feedback, and tracking performance metrics are vital for continuous improvement. Tools like Firebase Crashlytics, Google Analytics for Firebase, and third party logging systems provide visibility into how the app performs in real world conditions. Regular updates are necessary not only to fix bugs but also to support new Android OS versions, security patches, and evolving user expectations. Long term success requires a proactive roadmap that balances feature development, user experience improvements, and backend optimizations.
- Integrate with backends using APIs or cloud platforms like Firebase
- Secure all communication with HTTPS and proper authentication
- Test apps across devices using unit, integration, and UI testing
- Deploy through Google Play Console with optimized metadata
- Maintain with regular updates, crash monitoring, and analytics
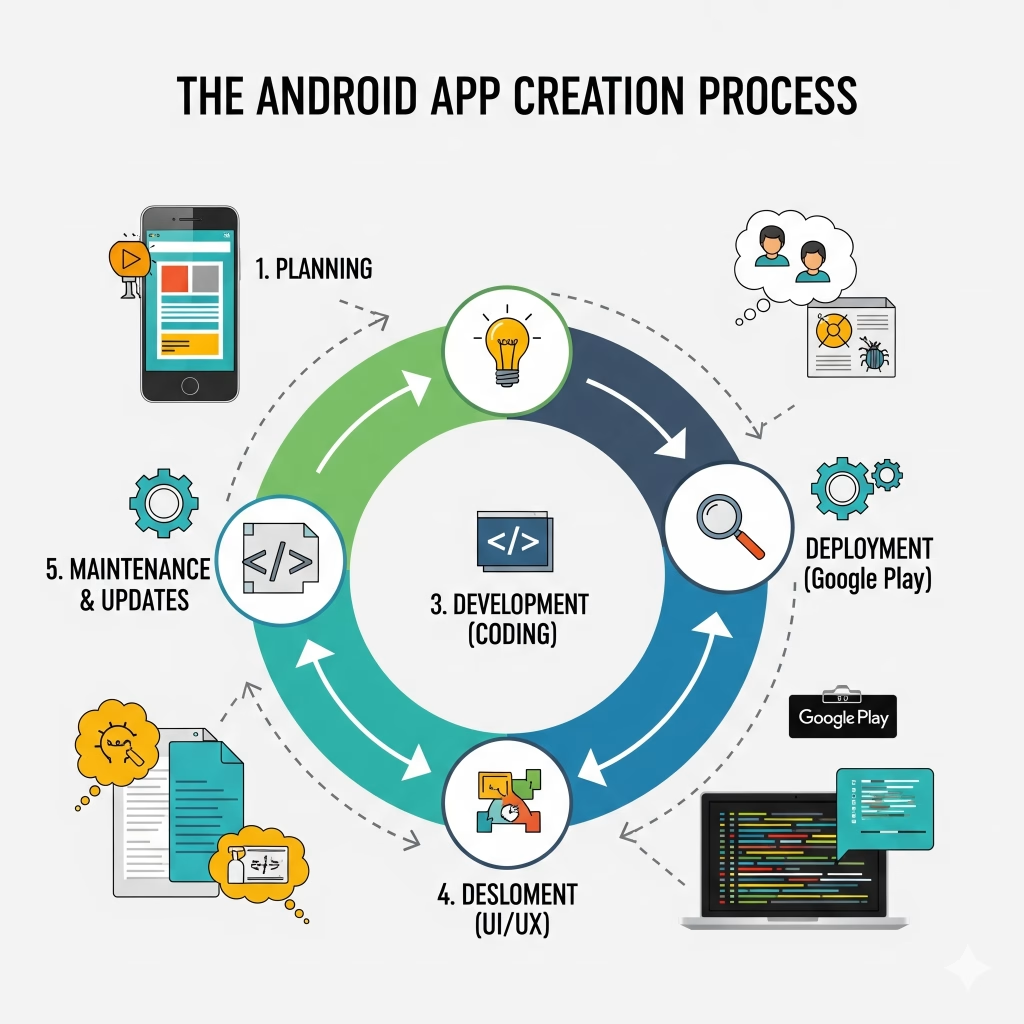
Creating an Android application involves far more than just writing lines of code. It is a structured process that starts with an idea and goes through a series of stages such as research, planning, design, coding, testing, deployment, and long term maintenance. Modern businesses, entrepreneurs, and developers look at Android not only as a platform with the largest global market share, but also as a gateway to millions of users across industries like finance, retail, education, travel, healthcare, and entertainment. This guide explains in detail how to make an Android application from the ground up. It combines strategic planning with practical coding examples and integrates references to authoritative sources so that readers can expand their knowledge with credible material.
Before touching any code, the first priority is to define the purpose and scope of the Android app. What exact problem will the app solve? Who are the target users and what are their main pain points? Answering these questions shapes the design, user interface, and technical architecture. For example, a booking app has very different workflows compared to an eCommerce marketplace or a social networking tool. Defining features and use cases at the beginning helps developers choose the right tech stack, frameworks, and APIs. A solid discovery phase avoids rework and reduces wasted time during coding.
Once the problem and purpose are clear, the next step is market and competitor research. Analyze similar apps on the Google Play Store to see what works and what fails. Study user reviews to understand recurring complaints such as poor usability, slow loading times, or unreliable payment integration. This information is a goldmine for designers and developers since it shows what features to prioritize and how to outperform competitors. For up to date data, the official Google Play Store remains the most important reference point.
With research completed, it is time to translate requirements into a design and technical roadmap. Developers often create wireframes to visualize how screens connect and how users will interact with buttons, menus, search bars, and forms. Designers use tools such as Figma or Adobe XD to create high fidelity mockups that represent the final interface. Wireframes and mockups are then validated with potential users in short usability sessions. This stage is crucial for detecting navigation issues before coding begins. According to the Android Developers design guidelines, good app design emphasizes clarity, consistency, and predictability, making the app intuitive to use without manuals or tutorials.
- Step 1: Define app purpose and user goals
- Step 2: Conduct competitor and market analysis
- Step 3: Collect requirements and prioritize features
- Step 4: Build wireframes and validate navigation
- Step 5: Prepare design mockups aligned with Android UI standards
After these initial phases, the project is ready to move to actual development. In the following sections we will explore the technical setup, coding, backend integration, and deployment of Android applications while also reviewing common pitfalls and industry best practices.
Once the research, design, and planning phases are complete, the real process of development begins. For Android applications, the industry standard tool is Android Studio, which is the official integrated development environment (IDE) provided by Google. Android Studio is built on IntelliJ IDEA and offers a full suite of tools including code editing, debugging, performance profiling, and an emulator for testing. Installing Android Studio is the first step, and during setup you also install the Android SDK (Software Development Kit) and choose the version of Android you want your application to support. This stage establishes the technical foundation for coding and ensures that the environment is stable and aligned with project requirements.
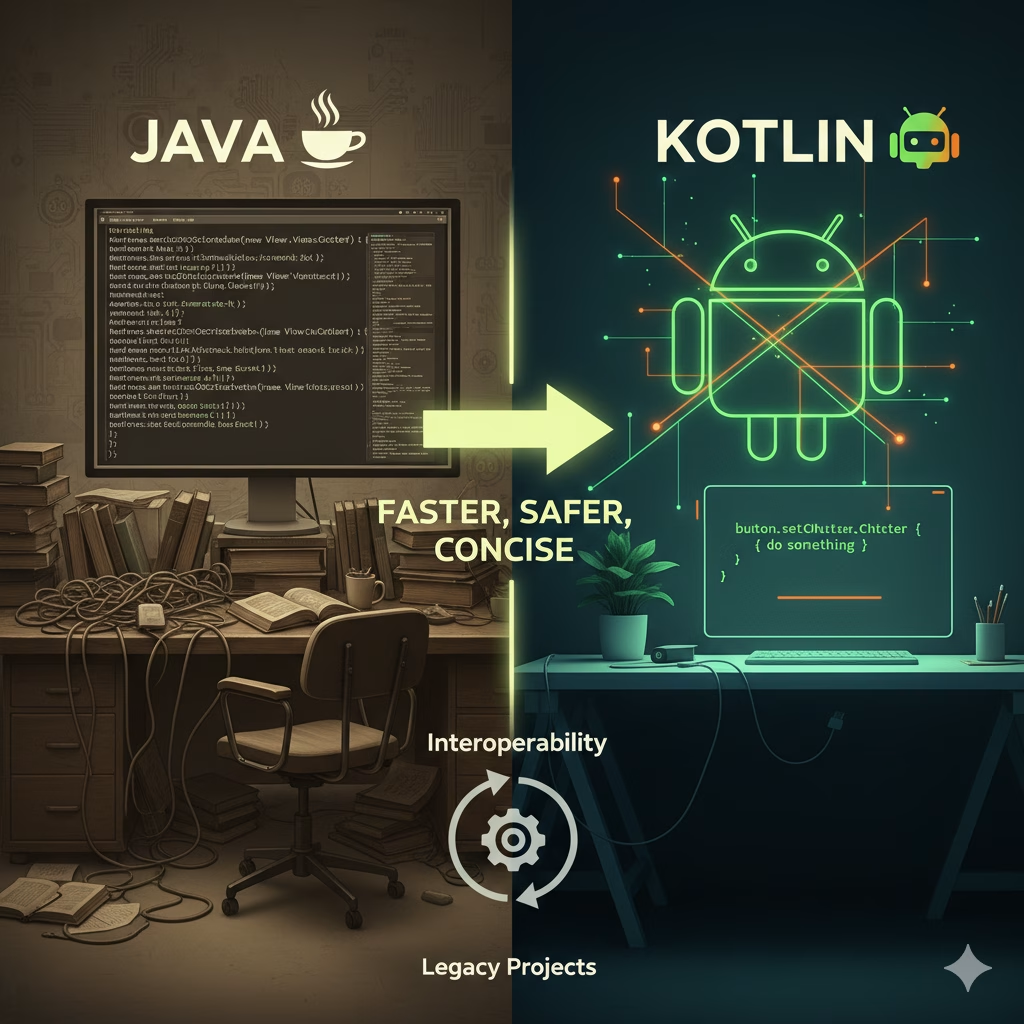
Developers primarily use two programming languages for Android: Java and Kotlin. Kotlin, introduced as an official language by Google in 2017, is now the preferred choice because of its concise syntax, null safety, and interoperability with Java. Kotlin reduces boilerplate code and makes development faster and less error prone. For example, while a simple Android button click listener in Java requires multiple lines, in Kotlin the same logic can often be expressed in one or two lines. Choosing Kotlin is a forward looking decision, especially since Google recommends it for new Android projects. However, many existing apps are still built with Java, and developers may need to understand both languages to maintain legacy projects.
The first coding milestone is creating a new project in Android Studio. This generates a default application structure with folders for source code, resources, layouts, and manifests. The most important files include MainActivity.kt (or MainActivity.java) where the core logic begins, and AndroidManifest.xml where app permissions, activities, and metadata are declared. The res directory contains resources like images, strings, and layouts, all of which are critical for building user interfaces that adapt to different screen sizes and languages. Structuring these files properly ensures scalability and maintainability as the application grows.
User interface design in Android relies on XML layout files. For instance, a simple screen with a text label and a button can be defined in activity_main.xml using XML tags such as <TextView> and <Button>. These UI elements are then connected to the Kotlin or Java code in MainActivity through references like findViewById(). Modern Android development also supports Jetpack Compose, a declarative UI toolkit that allows developers to design interfaces directly in Kotlin without relying on XML. Compose simplifies dynamic UI rendering and makes applications easier to maintain in the long run.
Below is a basic example of Android code that displays a button and responds to a click event using Kotlin:
    import android.os.Bundle
    import androidx.appcompat.app.AppCompatActivity
    import android.widget.Button
    import android.widget.Toast

    class MainActivity : AppCompatActivity() {
        override fun onCreate(savedInstanceState: Bundle?) {
            super.onCreate(savedInstanceState)
            setContentView(R.layout.activity_main)

            val button: Button = findViewById(R.id.myButton)
            button.setOnClickListener {
                Toast.makeText(this, "Button clicked!", Toast.LENGTH_SHORT).show()
            }
        }
    }
This simple snippet demonstrates the interaction between the XML layout and the Kotlin activity. When the user clicks the button, a message is displayed as a toast notification. Even though this is a minimal example, it captures the essential workflow of Android app development: design a layout, connect it to logic, and handle user interactions. As apps grow, this same pattern scales into more complex behaviors such as API requests, database operations, and navigation across multiple screens.
- Use Android Studio for structured project setup and development
- Choose Kotlin as the primary language, with Java for legacy support
- Organize project files into activities, layouts, and resources
- Design user interfaces with XML layouts or Jetpack Compose
- Write code to handle interactions, events, and app logic
The next step after creating the user interface and coding the initial logic is backend integration. This is where apps connect to servers, APIs, and databases to deliver real time data and advanced functionality. In the next section, we will cover backend connectivity, authentication, cloud storage, and deployment on the Google Play Store.
Once the basic user interface and functionality of an Android application are complete, the next critical step is backend integration. Modern applications rarely operate in isolation. They need to fetch data, authenticate users, process payments, and synchronize content across devices. The backend can be built using custom servers, cloud platforms, or third party services depending on complexity and budget. For example, Firebase by Google provides ready to use features like authentication, real time databases, cloud storage, and push notifications that drastically reduce development time. Custom backends built with frameworks like Node.js, Django, or Spring Boot give more flexibility for projects requiring unique business logic or advanced integrations.
Connecting an Android app to a backend typically involves REST APIs or GraphQL endpoints. The app makes network requests to fetch or submit data and updates the interface accordingly. Libraries like Retrofit and OkHttp are widely used in Android development for managing API calls, handling responses, and working with JSON data. For secure communication, all requests should be made over HTTPS and tokens or OAuth should be used for user authentication. Secure backend design is not optional because mobile apps often deal with sensitive user information such as personal details or financial transactions. The Android Security Guidelines offer detailed practices for building secure mobile applications.

After backend integration, thorough testing is essential. Android apps must be tested across different devices, screen sizes, and operating system versions to guarantee consistent performance. Testing is conducted at multiple levels: unit testing verifies individual functions, integration testing validates workflows between components, and UI testing ensures that user interactions behave as expected. Android Studio supports JUnit for unit tests and Espresso for automated UI testing. Additionally, beta testing with real users helps capture usability issues and performance bottlenecks that automated tests might miss. Continuous integration and deployment pipelines make it easier to run tests automatically before every release, reducing the risk of shipping broken features to production.
Once the app passes all tests, it is prepared for deployment on the Google Play Store. Developers must create a Google Play Console account, generate a signed APK or App Bundle, and upload it along with metadata such as app description, screenshots, icons, and promotional graphics. Google also requires developers to set up a privacy policy, content rating, and compliance with policies regarding data collection and user safety. Proper keyword research and compelling descriptions are essential for App Store Optimization (ASO) to make the app discoverable by target users. For guidance on how to present and market digital products effectively, Wemaxa’s digital marketing services provide strategies that improve visibility and engagement.

Building an Android application is not a single event but a continuous cycle of ideation, development, testing, deployment, and improvement. By following structured steps, using the right tools, and respecting both technical and business considerations, developers and businesses can deliver apps that stand out in a crowded market. For organizations that want professional guidance in this process, Wemaxa provides comprehensive web and application design services that bridge strategy with execution to produce scalable and successful digital products.
